Satellite Dish Removal Services Overview
Visitors will learn about local service providers who handle satellite dish removal and how to compare options for their needs.
- - Residential property owners seeking to remove outdated or unused satellite dishes from homes and yards.
- - Commercial property managers needing to clear satellite dishes from business rooftops or parking lots.
- - Contractors or handymen looking to connect with local service providers for satellite dish removal projects.

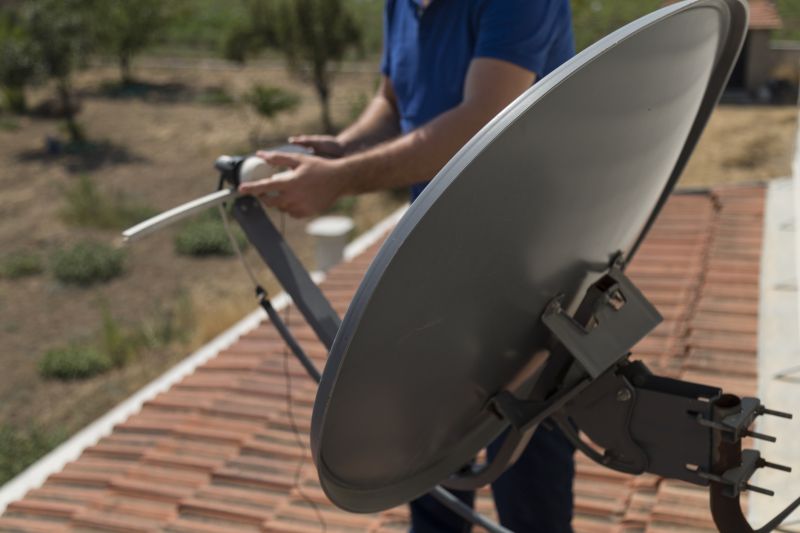
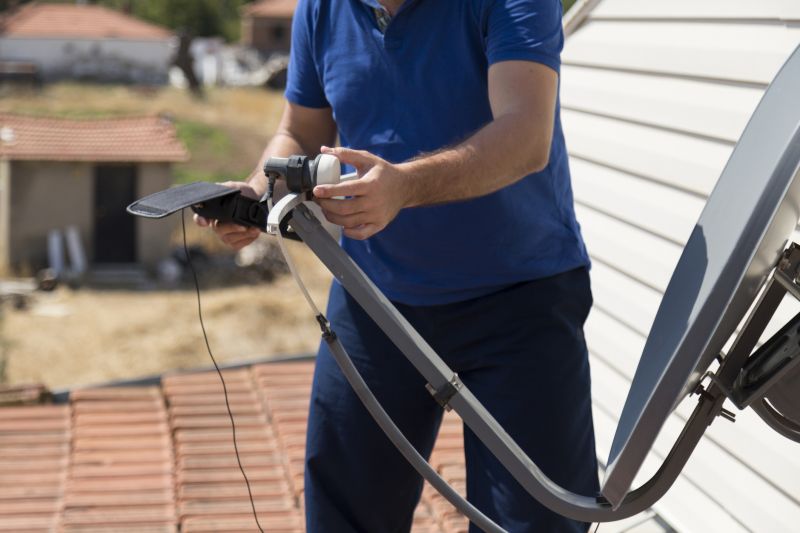
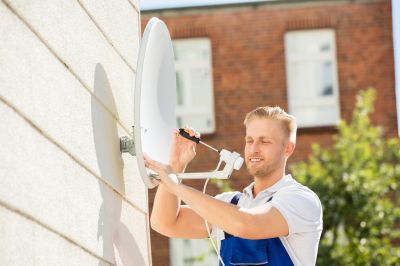
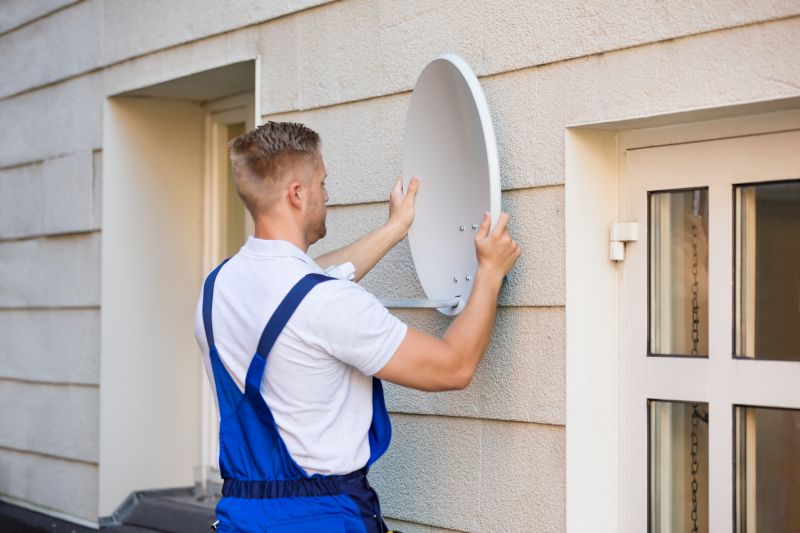
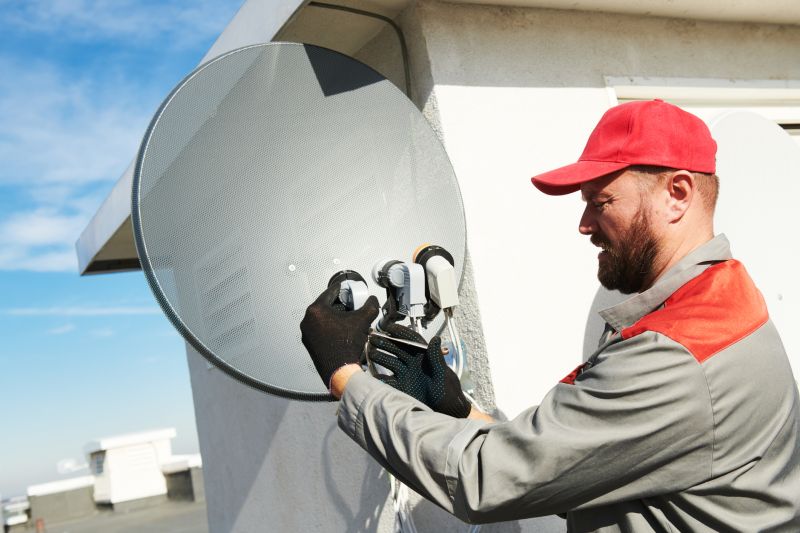
Satellite dish removal is a common service sought by property owners looking to declutter, upgrade equipment, or address structural concerns. Local contractors specializing in satellite dish removal typically handle tasks such as safely dismantling dishes, disconnecting wiring, and properly disposing of or recycling the equipment. These professionals are experienced in working with various types of satellite dishes and can navigate different property layouts, ensuring the work is completed efficiently and safely.
Connecting with local service providers can help property owners find qualified experts to manage satellite dish removal projects. These local pros understand the nuances of working in different neighborhoods and can provide tailored solutions based on specific property needs. Whether removing a single dish or multiple units, local contractors are equipped to handle the work and ensure it aligns with property requirements and standards.
This guide helps visitors understand the process of satellite dish removal and what to consider before hiring a service provider. It provides insights to compare local contractors and connect with experienced professionals in the area. The information aims to assist in planning and preparing for a satellite dish removal project.